The Putt Routine
Determine your order
The preparations building up to a putt should always be in the same order. The smallest deviations of a few angular minutes of the auxiliary line of the ball to the line system of the club head are very problematic. Please have another person/coach check the precision. Our training console HPT 40 has also proven to be a very good training aid. This instruction presented here is the simplest repeatable method for successful putting.
Putt-Routine
Step 1
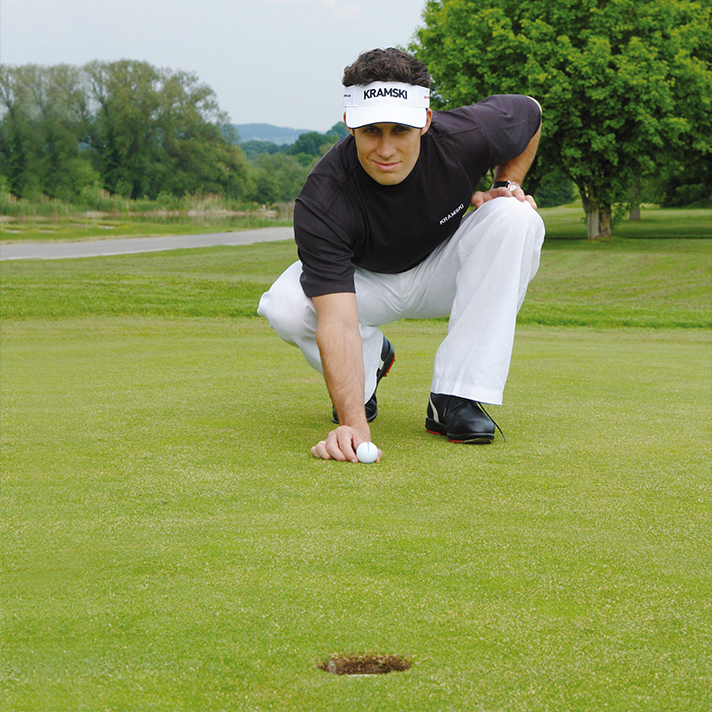
Mark your ball and clean it and the clubface.
Align the ball with the dominant eye and control the aiming direction.


Putt-Routine
Step 2
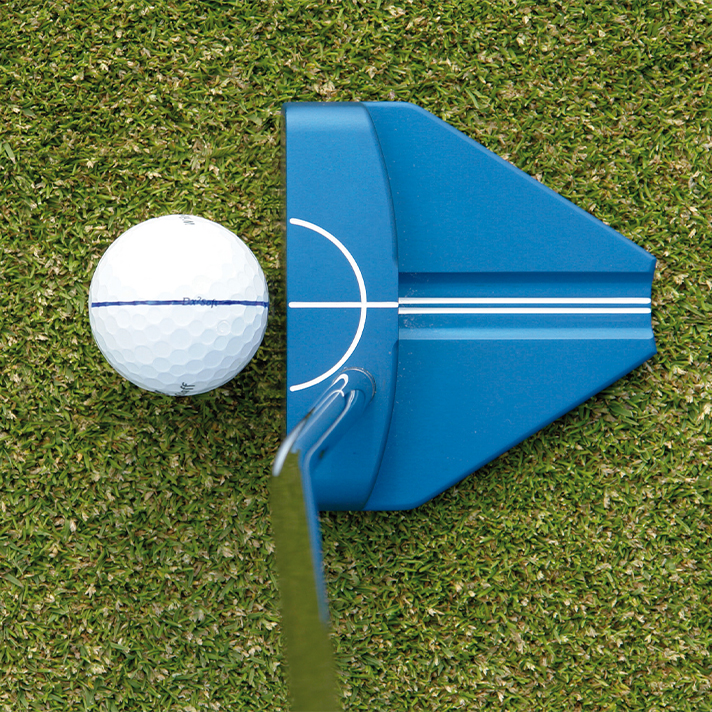
Place the putter head parallel to the ball aid line with a distance of 3 to 5 mm and with light pressure on the green.
Align the line system of the putter head parallel to the ball aid line. Align your feet parallel to the lines on the ball and putter head.
Check with the rear sight: the eyes must be exactly above the ball so that line 1 is between lines 2 and 3.
Build up the grip pressure and lift the putter head slightly. Check again the lines from the putter head to the auxiliary line of the ball.
Putt-Routine
Step 3
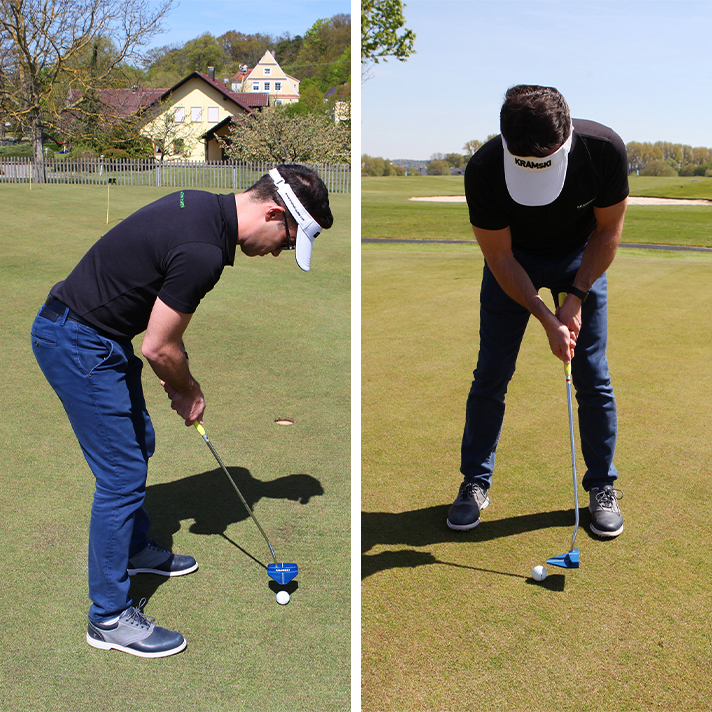
Tighten your arms without changing your body angle!
Make your trial putts over the ball. This will take some practice at first so you don’t move the ball. (Here: left in the picture)
Rotate inside with the dosage of the backswing as you would for the later putt and control your putt length. (Here: right in the picture)
Check again the parallelism of the lines and correct your position if necessary.
The wrists are firm! On a scale of 1 to 10, we recommend a grip pressure of 6 to 7.
Putt with the same backswing as during the test putt – with certainty and determination!

REMINDER
Always keep the same putting routine. This will give you confidence and security!
Contact
We are there for you!
PHONE
+49-7231-4245-430
info@kramski-putter.com